

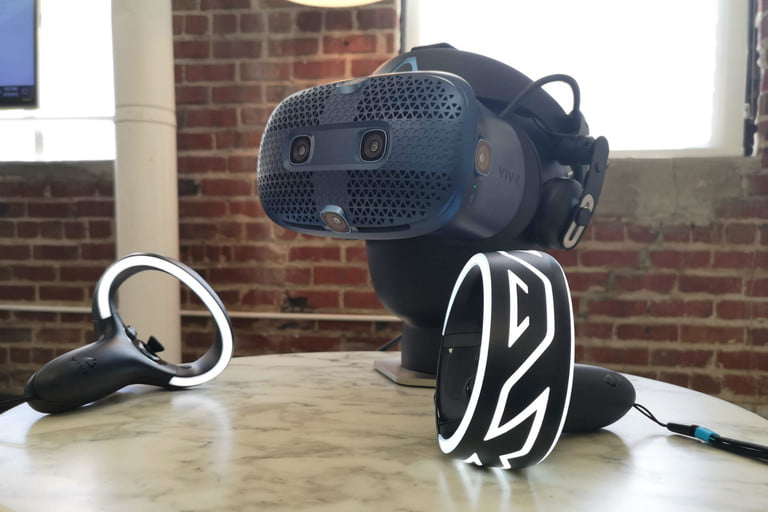
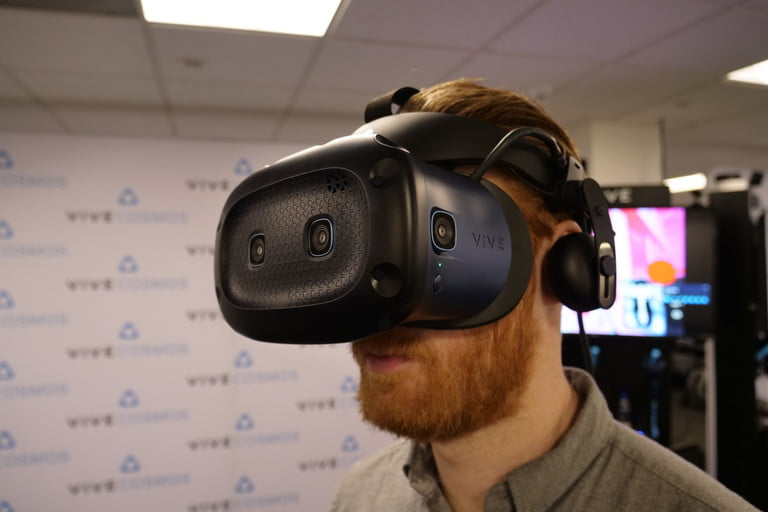
Virtual reality (VC) headsets are all the rage these days. They offer a more immersive experience to the gaming world. HTC Vive – the “king of virtual reality” – does just that, but the VR system comes with its drawbacks.
From “headset not found” errors to pairing issues, we’ll cover common HTC Vive problems users face. Then, we’ll suggest possible fixes and provide step-by-step instructions on how to address the issues you might encounter with your HTC Vive.
(Error 108) Headset not found
There are a couple of ways this error can manifest, either as an error message (error 108) or blinking red light on the headset. This is usually the result of either a USB or a driver issue.
Possible fixes:
- First and foremost, make sure the headset is plugged in correctly. If in doubt, remove everything and plug it back in again.
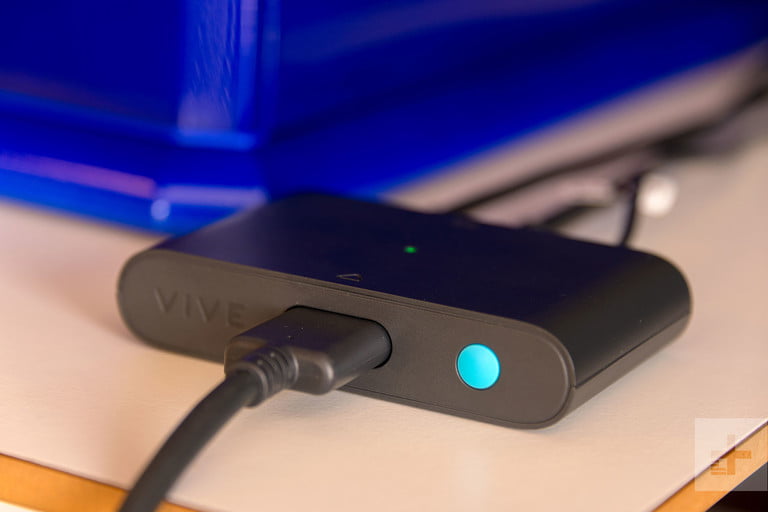
- The power, USB, and HDMI cables from the headset should be plugged into the correct slots on the link box; from there, the link box’s USB and HDMI should be plugged into the PC, and the power cord plugged into a power outlet.
- Once properly plugged in, the LED on the headset should be green, indicating that it’s ready for use.
- If everything is plugged in but the headset is not turning on, try a different outlet.
Once you’ve done that, if the issue still persists, there are a number of other things to try:
Reboot the headset
Step 1: In SteamVR, right-click on the headset icon and select Reboot Vive Headset.
Step 2: Wait for the reboot to complete.
Power cycle the link box
Step 1: Shut down SteamVR.
Step 2: Unplug the power and USB cord from the PC side of the link box (meaning NOT the orange side of the link box).
Step 3: After a few minutes, plug the power and USB cord back into the Link Box. If you see a notification in the taskbar that a driver is installing, wait for it to finish.
Step 4: Relaunch SteamVR. Keep in mind that you may need to repeat this process more than once in order for the error to stop appearing.
Restart your computer
Step 1: Quit SteamVR and reboot your computer.
Use a different USB port
Sometimes, plugging into USB 3.0 and 3.1 ports can cause errors. In that case, try using a USB 2.0 port instead. If there is a USB port already in use and working — say, one that your keyboard or mouse is plugged into — try moving the Vive connection to it. If, after trying all possible USB ports, you still do not have a connection, try resetting your USB devices using the following steps.
Step 1: Unplug the link cables from your PC.
Step 2: Navigate to SteamVR > Settings > General, and make sure the Developer Settings box is checked.
Step 3: Click Reset in the sidebar.
Step 4: Double-check to see if the link box’s USB cable is unplugged from the PC. Click Remove all SteamVR Devices and click Yes when prompted.
Step 5: Quit SteamVR, plug the link box back into your PC, and re-launch SteamVR.
If you’ve attempted every fix detailed above, it may be that your USB chipset is causing the issue. Check with Steam’s support page for further explanation of compatible USB chipsets.
(Error 113) Path registry not writable
This is usually due to a lack of proper installation permissions. You’ll need to change your permissions in Windows.
Change permissions
Step 1: Navigate to the folder you want to change permissions for.
Step 2: Right-click it and select Properties.
Step 3: Click on the Security tab.
Step 4: Check the names listed in the Group of usernames box. If the account you’re using does not appear, click Add and type the name of the user you wish to add. Skip this step if the username already shows up.
Step 5: To change permissions, click the Allow or Deny check box in the Permissions for User or Group box. For the purposes of solving error 113 with the Vive, you’ll want to allow access.
(Error 200) Driver failed
This error message indicates that the OpenVR driver failed. If you added a file or folder to the SteamVR driver directory, removing it should fix the problem. If not, you may not have the proper permission to write to the user directory.
Change permissions
Step 1: Right-click in Windows Explorer and select the folder you wish to edit permissions for.
Step 2: Click Properties.
Step 3: Click on the Security tab.
Step 4: Check the names listed in the Group or usernames box. If the account you’re using does not appear, click Add and type the name of the user you wish to add. Skip this step if the username already shows up.
Step 5: To change permissions, click the Allow or Deny checkbox in the Permissions for User or Group box. For the purposes of solving error 200 with the Vive, you’ll want to allow access.
Error 109/400
If you see this code, it’s usually because your headset isn’t connecting your GPU correctly. Double check to make sure the link box and your primary display are connected to the same GPU in your setup. If you have to use a laptop, make sure the connection is using a discrete GPU. Sometimes switching to “prefer maximum performance” or similar settings will force the computer to make the right switch.
(Error 206) Driver not calibrated
Error 206 means that SteamVR was unable to load the calibration for your headset. To solve the issue, you will need to reset your headset to force the drivers to reinstall.
Reinstall headset drivers
Step 1: Unplug the headset.
Step 2: In SteamVR, go to Settings > Reset, and click Remove all SteamVR devices. Wait a moment.
Step 3: Plug your headset back in and wait for the drivers to install.
Step 4: If repeated attempts do not solve the issue, Valve’s support website indicates you may have a faulty unit, and encourages users to contact HTC through the company’s website.
(Error 207) Driver calibration invalid
This error is similar to error 206, in that it indicates a failure of the headset calibration to be loaded by SteamVR. As such, the steps to solve the issue are the same.
Reinstall headset drivers
Step 1: Unplug the headset.
Step 2: In SteamVR, go to Settings > Reset, and click Remove all SteamVR devices. Wait a moment.
Step 3: Plug your headset back in and wait for the drivers to install.
If repeated attempts do not solve the issue, Valve’s support website indicates you may have a faulty unit, and encourages users to contact HTC through the company’s website.
(Error 208) HMD display not found/(Error 208) HMD found over USB, but monitor not found
If you encounter error 208 with the message “HMD display not found” or “HMD found over USB, but monitor not found,” try these potential fixes.
- Update your graphics card drivers.
- Double-check the connections for all cables — those from the headset to the link box and the link box to the PC and power outlet alike. The power cord especially can come loose after heavy use. This can be checked by taking off the removable cable panel on the MHD by pushing it forward.
- Make sure the orange-tipped cords from the headset are plugged into the orange ports on the link box.
(Error 215) GPU connection failed
This usually happens when your graphics card has an important update that hasn’t been installed yet. Make sure your GPU is fully updated. If you have multiple GPUs, it’s a good idea to disable or remove all but the one you are using for Vive if this problem keeps recurring. Sometimes DisplayPort adapters can also cause this issue and need to be removed to fix it.
(Error 301) Connect failed
This indicates that vrserver.exe failed to start or connect. Sometimes, this is caused by multiple instances of the program running at the same time.
Kill VRServer processes
Step 1: Quit SteamVR.
Step 2: Type Task manager in the Windows search bar, and open the Task Manager.
Step 3: Locate any instances of vrserver.exe that may be running and quit the process.
Step 4: Run SteamVR.
If this doesn’t solve the issue, Valve’s support page instructs users to send in a system report as detailed in the introduction to this article.
(Error 302) Init failed
This error means that vrserver.exe is experiencing issues starting up.
- Usually, this can be fixed by simply rebooting your computer and trying again.
- If this doesn’t solve the issue, Valve’s support page instructs users to send in a system report as detailed in the introduction to this article.
(1101 through 1112) USB error
All error messages between 1101 and 1112 are related to USB failures. Reinstalling headset USB drivers can do the trick.
Reinstall headset drivers
Step 1: Unplug your headset/linkbox, controllers, and any other VR devices you have plugged into your PC.
Step 2: In SteamVR, go to Settings > Reset, and click Remove all SteamVR USB Devices.
Step 3: Click Yes.
Step 4: Quit SteamVR.
Step 5: Reconnect your headset, this time using a different USB port, and wait for drivers to install.
Step 6: Restart SteamVR.
If this doesn’t solve the issue, Valve’s support page instructs users to send in a system report as detailed in the introduction to this article.
This article was originally published on Digital Trends by Brendan Hesse